My dad loves cooking with fresh turmeric but hates the idea of having to buy it packaged in plastic. It was a no-brainer that I needed to grow some for him and now I easily produce enough to get him through the year.
Description
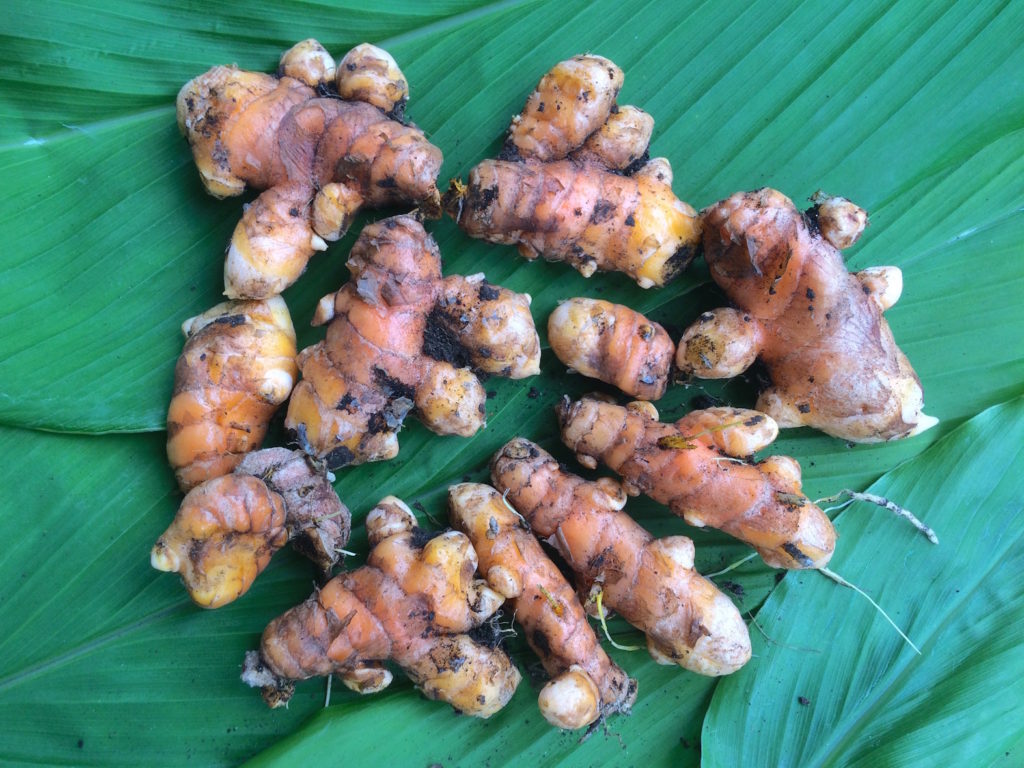
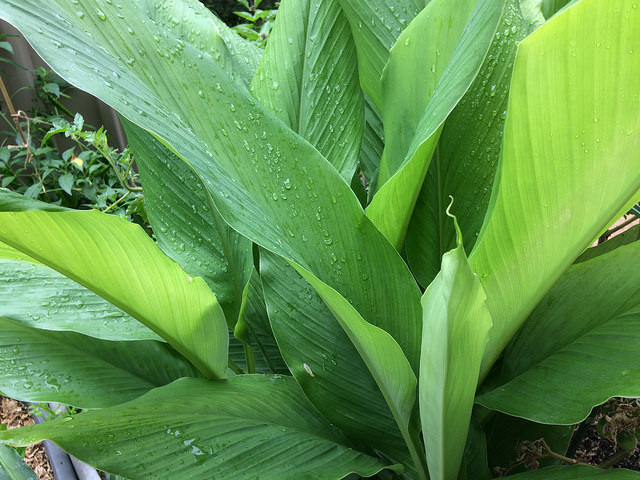
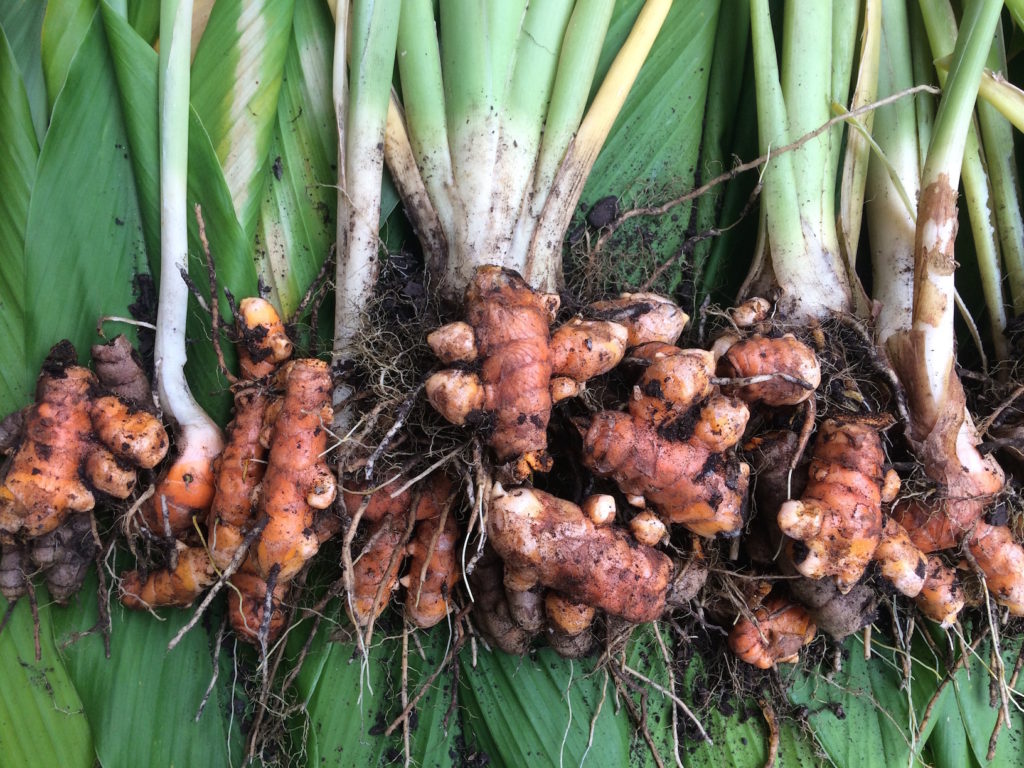
A member of the ginger family (Zingiberaceae), turmeric rhizomes have brown skin with bright orange flesh. Although often grown as an annual, it is a perennial herb growing 1 metre in height and is a native to the monsoon forests of south east Asia. If left undisturbed for a year, it will reward you with attractive tall flower spikes in Summer.
Turmeric is an ingredient of curry powder, and gives it’s distinctive yellow colour. Rhizomes are either used fresh, or boiled then sundried and ground. It is thought by many to have health benefitting qualities including antiseptic, antibacterial, and anti-inflammatory properties.
How can I use turmeric?
Turmeric can be used in many different ways both fresh and in powdered form. Other parts of the plant can also be put to use.
- grated fresh into asian dishes
- in curries, soups or stews
- in stir-fries
- with green vegetables such as kale
- with tofu
- with seafood
- added to rice for colour and flavour
- in scrambled eggs or a frittata
- turmeric chai
- blended into a smoothie
- use the leaves to wrap fish
- as a cut or edible flower
- as a yellow dye
Select your rhizomes
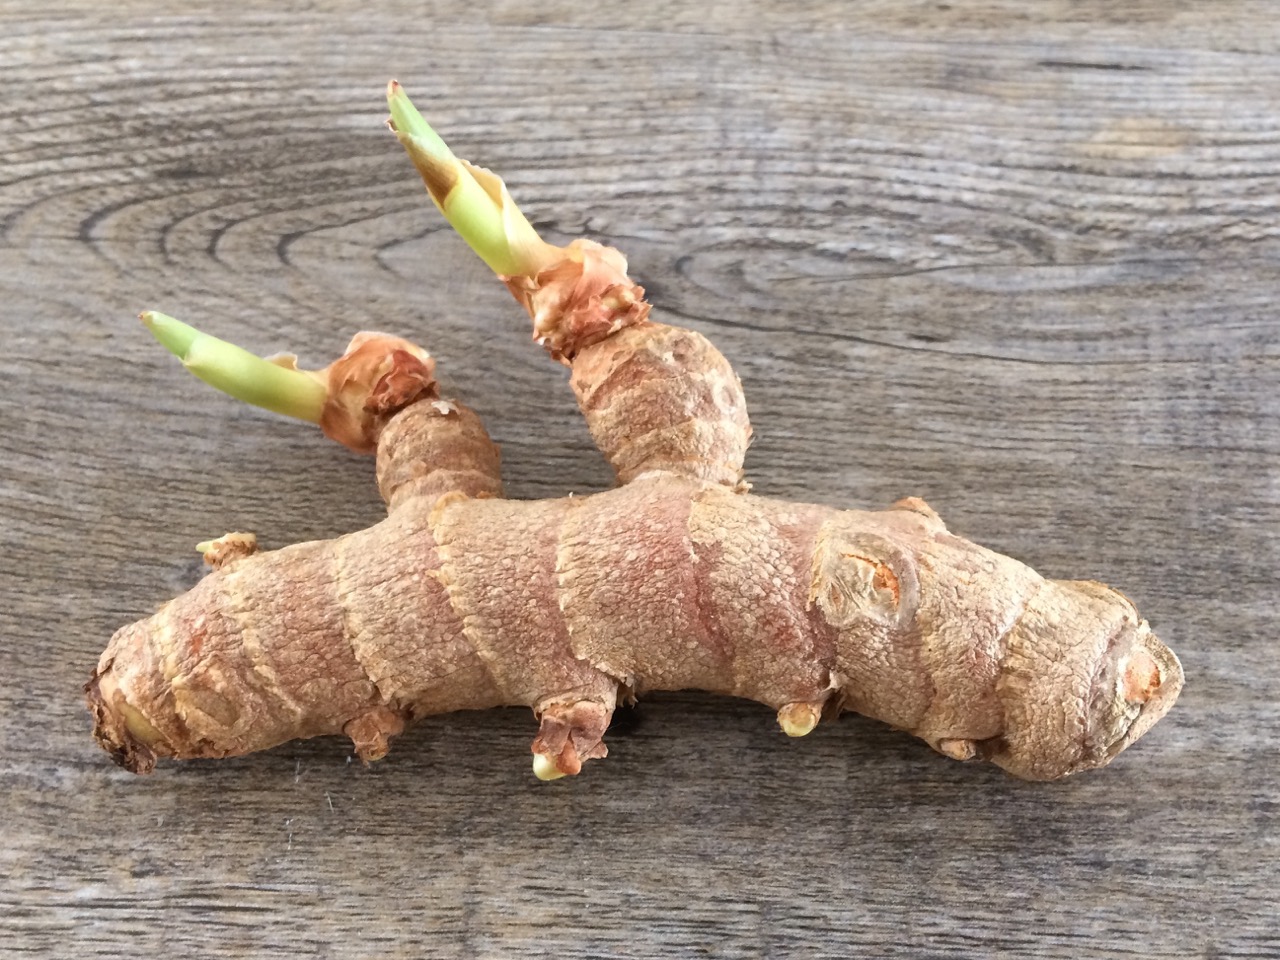
You can find rhizomes to plant through online nurseries, farmers markets, swap groups, community garden groups or if you have a piece already sprouting in your kitchen that will work too. Rhizomes with lots of ‘eyes’ are best, and ensure they don’t have any signs of disease.
Get started early in spring
The earlier you start, the more time your rhizomes have to develop so for the best results plant in September or October. Leave rhizomes to sprout on the window sill.
Avoid over-watering at the beginning
To prevent rhizomes from rotting it’s important to limit watering until the plants have developed a root system. Partially bury the rhizomes in the soil, ensuring they get plenty of light. Look out for sprouts which, depending on the weather should develop in about 3 weeks.
Provide quality soil
Provide a well-drained soil, rich with organic matter. A pH between 5.5 and 6.5 is ideal. Cultivate growing beds around 40 centimetres in depth and 1 metre across. If growing in a container purchase a good quality organic potting mix.
Avoid frost
Grow in a frost-free position. If you live in a frost prone climate try growing in a container and move your turmeric to a sheltered position over winter. Plants thrive in temperatures between 20 and 25 degrees celcius.
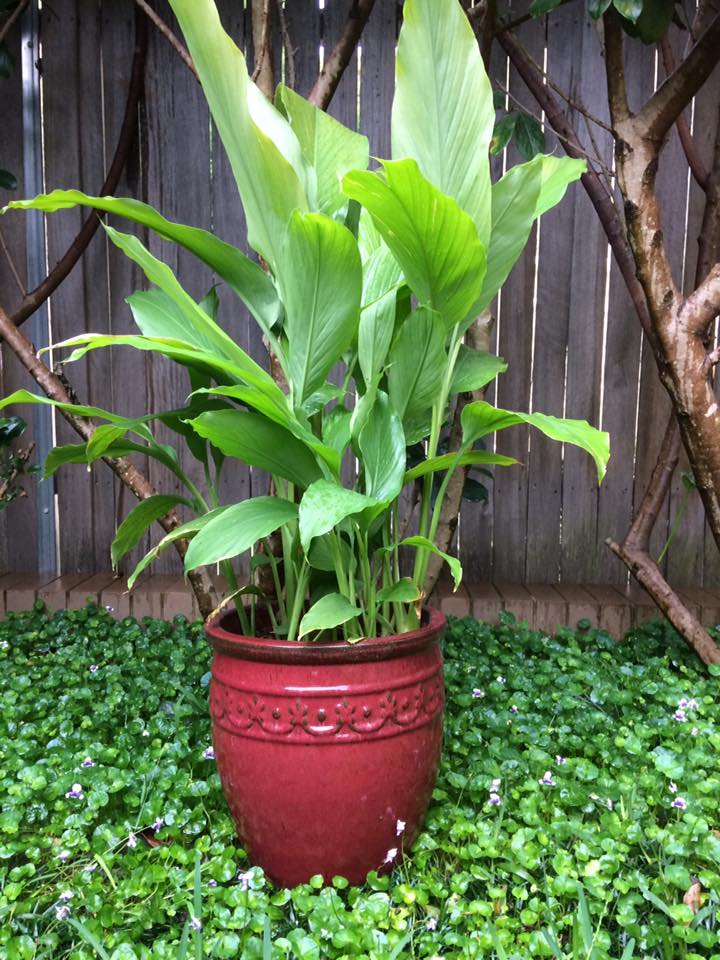
Try growing in a container
I’ve found growing turmeric in Sydney in a container a great solution. Over winter I move it into a more sheltered position so it survives the chill, and it’s an attractive plant to have just outside my door.
Provide light shade over summer
Turmeric loves a sunny position with light shade during the heat of summer. If your plants are given too much shade you’ll have a lower yield.
Water regularly once established
In it’s natural habitat turmeric receives a high rainfall but it’s important that the soil is well-drained so that the rhizomes do not become water-logged and rot.
Harvesting your turmeric
Your rhizomes will be ready to harvest after approximately 8 to 9 months. With a spring planting, this will mean that you will be harvesting late autumn to early winter. You will notice the leaves turning yellow and the stems collapsing at this time. Be careful not to damage the rhizomes when you lift them.
You can also ‘bandicoot’ harvest your turmeric by carefully digging at the side of a clump and removing rhizomes as needed.
Pests and diseases
Turmeric is susceptible to pests such as stem borer, leaf borer, leaf rolling caterpillars, and scale insects. And diseases including leaf blotch, leaf blotch, rhizome rot, and leaf scorching caused by a fungus.
Make your own turmeric powder
You can make your own turmeric powder by cooking the roots in boiling water, letting them cool, then peeling them and cutting them into small pieces. Let them dry completely in the sun and grind them into a fine powder using a spice or coffee grinder. Store in an air-tight jar.
Storing your turmeric
Store your fresh turmeric as you would store garlic, in an open container or basket in the cupboard. It will stay fresh for 2 weeks, but will keep much longer. Turmeric powder can be stored as other ground spices in airtight container away from humidity, light and extreme heat where it will be at it’s best for 12 to 15 months.
Turmeric is an attractive, low maintenance plant easy to grow in a container. The key is really the timing. By getting some growing now you could grow up some great gifts for friends for Christmas.
Can be utilized as a face mask to clear up sunshine spots, scars, zits etc